Conversations with the Dentist
There are times when you have a question about your dental health but don’t feel it merits an entire appointment. And there are times when we have something we’d like to tell you about but don’t have the time to call everyone. We created this section of our website so you can ask questions and we can answer them, as well as let you know about other office happenings.
You can browse our content by clicking on a topic to the right. Submit questions or comments here!
Is there a way to enjoy my Halloween candy without completely sabotaging my dental health?
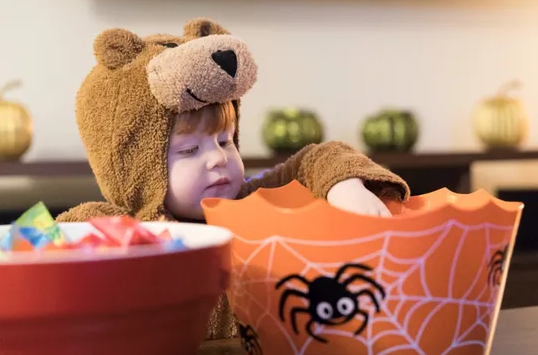
Here’s a scary Halloween fact for grown-ups and kids alike: Eating candy can directly contribute to tooth decay and cavities. That’s because the bacteria that live inside your mouth use sugar to create acids that can severely damage your teeth.
So what should you do when you come home from trick-or-treating with a bag full of candy? Luckily, you don’t have to forgo sweets completely in order to keep your teeth healthy; you simply need to be careful about what you eat and pay extra attention to your dental hygiene.
To get started, check out these easy dental hygiene tricks to help you enjoy your Halloween treats safely.
1. Always brush your teeth at least twice a day. The more frequently you brush your teeth, the less time you give bacteria to damage them. As a general rule, brush your teeth at least twice a day to keep bacteria from building up inside your mouth, especially before bed. You should also remember to floss to remove any sticky candy.
2. Avoid sticky candies like taffy, gummy bears and jelly beans. Sticky candies can cause sugary residue to get stuck on and in between your teeth, making it harder for your saliva to wash away any plaque-causing bacteria.
3. Choose sweet over sour. Sour candy is more acidic than sweet candy, and acidic foods are harsh on your teeth. To protect your teeth from dental erosion, skip anything sour, and opt for sweets that are actually sweet.
4. Stay away from candy that stays in your mouth for a long time. Sucking on lollipops and other hard candies is a constant assault on your tooth enamel, causing long-term exposure to acids that wear enamel away. Instead, choose candy that you can chew and swallow immediately.
5. Share your candy with others. An easy way to lessen the negative impacts of Halloween candy on your teeth is to simply eat less candy. Share some of your treats with a parent or a friend to keep your mouth healthier and make a person you care about happier.
6. If in doubt, chocolate is a winner. When it comes to eating sweets, chocolate is better than candy, and dark chocolate is better than milk chocolate. That’s because dark chocolate generally contains less sugar compared with milk chocolate, and all types of chocolate are easier to rinse or brush off your teeth than candy.
7. Rinse your mouth as soon as you finish eating candy. When you can’t brush your teeth right away, rinsing with water or mouthwash is the next best option for reducing any leftover candy residue on your teeth, as well as the overall amount of acids in your mouth.
8. Eat your candy just after your meals, not as separate snacks. Nonstop snacking means nonstop opportunities for bacteria to create acid inside your mouth. If you are craving a snack, eat one directly after your meal, as opposed to with it.
9. Make sure your next dentist appointment is already on the calendar. Sometimes, despite your best efforts, tooth decay and cavities still happen. When they do, it’s important that you have regularly scheduled visits with your dentist so you can catch any issues early on, making problems easier to treat.
With the tips above, you can enjoy your candy while giving your teeth a greater chance to stay healthy and strong. Happy eating, and happy Halloween!
What are some healthy kid treats for summer?
6 HEALTHY FROZEN TREATS FOR SUMMER
School’s almost out, the weather’s heating up, and your kids are craving those icy treats. Since a diet of ice cream and milkshakes isn’t what the dentist ordered, here are some suggestions for frozen delights that are less sugary and more nourishing.
Frosty Grape Skewers
Ingredients: Fresh grapes, any color
Wooden skewers, for assembling
Directions:
Thread grapes onto wooden skewers, then freeze in a gallon freezer bag. Thaw ten minutes before enjoying.
Kids love to help thread the grapes onto the skewers and the end result tastes like a sweet slushy.
Summer Berry Froyo cups
Ingredients:
1 cup whole plain yogurt
1 banana
½ tsp. vanilla extract
about 20 raspberries
½ cup blueberries
Directions:
Blend bananas, yogurt, raspberries and vanilla until smooth. Spoon into a muffin tin (silicone works best) and top with blueberries and raspberries. Freeze, then pop out and store in freezer bags. Thaw ten minutes before enjoying.
These charming, sweet-tart cups are perfect with breakfast on a hot morning.
Banana Mango Chia Pops
Ingredients:
1 banana
1 cup frozen mango
2 T chia seeds
Directions:
Puree fruit in a food processor until smooth, then stir in seeds. Spoon mixture into pop molds and freeze.
These sweet speckled pops provide extra soluble fiber and a fun crunchy/smooth texture.
Probiotic Chocolate Nice Cream
Probiotic powder is optional in this creamy vegan ice cream.
Ingredients:
Two bananas, broken into chunks and frozen
1 Tbls. unsweetened cocoa powder
1 Tbls. natural peanut butter.
½ tsp. vanilla extract.
1 scoop unflavored probiotic powder (optional)
Directions:
Puree banana chunks in a food processor until creamy. Add remaining ingredients and puree a second time, until the consistency is completely smooth, like soft serve. Enjoy immediately.
Pineapple Orange Carrot Pops
Ingredients:
1 whole orange
1 cup fresh or frozen pineapple
1 large carrot, peeled and cut into four big sticks
Directions:
In a food processor or high-powered blender, puree all ingredients until smooth. Pour into pop molds and freeze overnight.
Put some orange veggies into your sweet treat! They add fiber, vitamin A and depth-of-flavor.
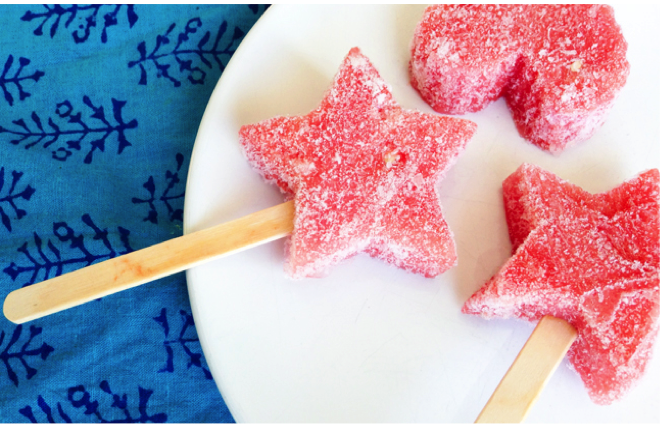
Frozen Watermelon Shapes
Ingredients:
Fresh watermelon, whole or part.
Star, heart, or other simply-shaped cookie cutters
Wooden popsicle sticks, for assembling
Directions:
Cut the watermelon into large rounds about ½ to 1 inch thick. Use the cookie cutter to punch out shapes, and insert one stick into the middle of each shape. Stack carefully inside a gallon freezer bag and freeze overnight.
If Food Was Cleaning Products, Which Would You Use to Do Spring Cleaning?
Well, let us tell you! Introducing ….
The Top 6 Foods to Spring Clean your Mouth!
 Spring cleaning is about more than just your home. Our mouths deserve the same rejuvenation from time to time. And there is no better way to brighten that smile than by eating a healthy diet. Here are the top 6 foods that clean teeth naturally, often acting as natural abrasives to polish those pearly whites.
- Tea – Herbal teas, like green tea, contain polyphenol antioxidants that reduce plaque and prevent cavities and gum disease. Tea also contains fluoride, which helps strengthen tooth enamel and eliminates bad breath.
- Cheese – Cheese contains natural cavity-fighting agents, as well as vitamins that strengthen teeth. The calcium and phosphate in cheese helps balance pH levels in the mouth, preserves tooth enamel, produces saliva, and kills bacteria that cause cavities and disease.
- Fruits – Fruits, such as apples, strawberries and kiwis, scrub your teeth when you eat them. When the natural fibers of the fruits combine with saliva in the mouth, they help wash away food particles and stain-causing bacteria.
- Vegetables – Crunchy vegetables such as carrots, cauliflower, broccoli and cucumbers can help clean your teeth and gums by removing food particles that can build up into plaque.
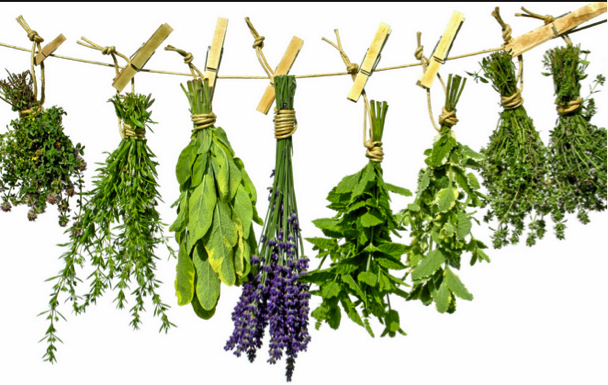
- Fresh herbs – Chewing on herbs, like parsley, cilantro, and mint helps decrease odors caused by a buildup of bacteria.
- Water – Water cleans the mouth and produces saliva that deposits essential minerals that build tooth enamel. Water also keeps gums hydrated and washes away food particles from teeth.
How often should I get dental x-rays?
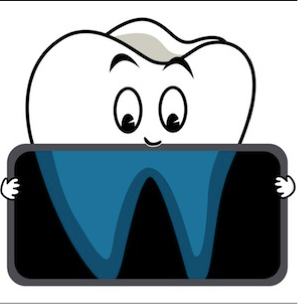
Question: I’ve heard I need to do a new x-ray every year. Is that right?
Dr. A Says: The common refrain of ‘once a year’ is wrong, wrong, wrong. The frequency of x-rays depends largely on your personal dental history, which is determined by many factors. For example, have you had many decayed teeth? How’s your home care? How’s your diet?
People who have no fillings or very few fillings or decayed areas have earned the right to defer x-rays to, perhaps, 2 year intervals. Your dentist and hygienist can determine the interval based not on a pre-determined interval, but upon your particular need.
Have a question? Send it to us here.
How do I get my child to eat a healthy lunch at school?
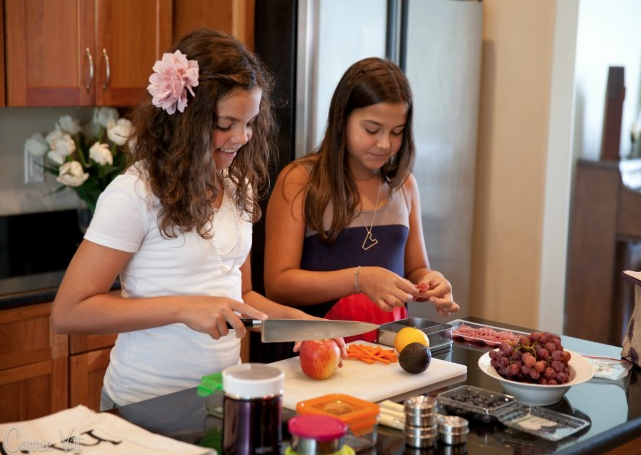
Teaching Kids To Make Their Own Lunches
Busy, working parents face many hurdles in that early morning rush to get their little ones out the door. One of the biggest challenges? The daily packing of school lunch. What to make? Will they even eat what we make or simply go on a hunger strike until we meet their demands – a lunch of nothing but popcorn and fruit roll-ups? We have an idea to both take some of the pressure off yourself and to give your kids more responsibility: have them start making part of their lunch.
You may have heard that the more kids help with shopping and cooking a meal, the more likely they are to eat it. Let’s test the theory out!
A Few Tips for Prepping Ahead
- Take the kids shopping. Give them choices in the produce section for the upcoming week’s lunches. Shop the bulk bins and have them pick out the type of dried fruit, trail mix or grains they want to try. They just might surprise you!
- Have the right containers for the job. Many kids like storing their lunch in multiple containers. Imagine grapes in one container, cheese cubes in another, carrot coins and cherry tomatoes in yet another, and hummus and pita triangles on the side. The next day it will be a different combination.
- Prep extra staple ingredients while making dinner. Make another chicken breast for shredding, slice more bell peppers, or cook another cup of rice or greens for your child to incorporate into lunches.
- Avoid the morning rush hour. After dinner, start an assembly line on the dining room table, which may be easier for smaller kids to work on than counter tops.
Easy and Fun Food Ideas
- Lunchbox Quesadilla is an easy make-ahead lunch that older kids can prepare in one pan, and it’s a delicious way to use up leftovers.
- Deli-style rollups with ham, sliced chicken, or turkey. Easy and bread-free for a change of pace.
- Tuna or egg salad with whole grain crackers.
- Make a rice bowl Start with brown rice or quinoa (or both). Add a protein such as leftover chicken or cooked beans. Add veggies. Top with a sauce or dressing.
- Do the dip. Have your child package up single servings of salsa, dip or hummus and grab veggies, crackers or pita chips for dippers.
- Avocado, Lettuce and Tomato Pita Pockets packs whole grain pitas with a mixture of greens, tomatoes and mashed avocado for a satisfying and colorful midday meal.
- Pasta Salad using Leftovers Add veggies and voila!
- Apple Sandwiches with Granola and Peanut Butter Use Sunflower spread instead for a great nut-free alternative.
- Don’t forget the apple! They can be sliced at home and held together with a rubber band to decrease browning from oxidation.
While at first, you’ll need to be close at hand, making sure they’re packing the essentials (protein, fruit, veggies, whole grain, etc.) and to take over any sharp knife or stove activities, we believe the future payoff is worth the initial time investment.